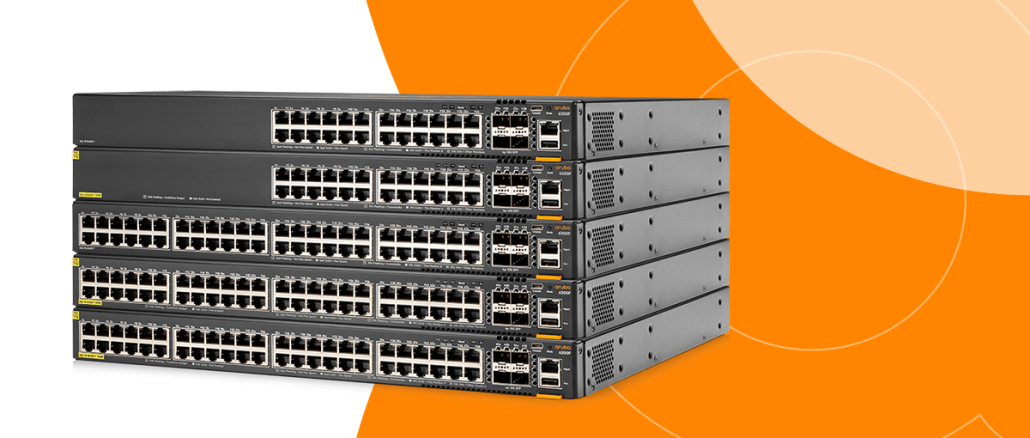
I’ve already done a how-to for upgrading code on Aruba OS-CX switches from tftp server available here. However I thought it was worth a couple of lines about mounting a USB device to enable code installs when the switch is offline.
First, lets just confirm the platform.
Aruba# sh system
Hostname           : Aruba
System Description : FL.10.05.0021
System Contact     :
System Location    :

Vendor             : Aruba
Product Name       : JL665A 6300F 48G CL4 PoE 4SFP56 Sw
Chassis Serial Nbr : SGH812305W
Base MAC Address   : 883a30-98cf00
ArubaOS-CX Version : FL.10.05.0021

Time Zone          : UTC

Up Time            : 43 weeks, 2 days, 1 hour, 2 minutes
CPU Util (%)       : 5
Memory Usage (%)   : 19
Check System with ‘show system‘ command
Aruba# sh ver
-----------------------------------------------------------------------------
ArubaOS-CX
(c) Copyright 2017-2020 Hewlett Packard Enterprise Development LP
-----------------------------------------------------------------------------
Version      : FL.10.05.0021
Build Date   : 2020-10-29 10:36:02 PDT
Build ID     : ArubaOS-CX:FL.10.05.0021:ef0fef7f4b9d:202010291659
Build SHA    : ef0fef7f4b9d2732c70bed9fa25589c665319634
Active Image : primary

Service OS Version : FL.01.07.0002
BIOS Version       : FL.01.0002
Check Version and Active Image with ‘show version‘ command
We can see that we are currently running FL.10.05.0021 as the primary image.
Looking on the Aruba portal under 6300 conservative release we currently have a number options, I’m planning on upgrading to 10.08 train, even though 10.09 is listed under conservative releases, I prefer to stay one point behind the latest. Obviously, others may feel differently about the choice.
Having downloaded the latest Aruba OS-CX 10.08 (currently 10.08.1040) along with the release notes, it is apparent that to upgrade to 10.08 the switch needs to be running at least 10.06. Therefore a multiple step upgrade is required. So back to the portal to download an interim code and release notes. Aruba OS-CX 10.07 according to the release notes can be upgraded to directly from 10.05 so that will be used as the stepping stone code base.
We can use the show images command to check which code is in which partition.
6200# show images
---------------------------------------------------------------------------
ArubaOS-CX Primary Image
---------------------------------------------------------------------------
Version : FL.10.05.0021
Size    : 642 MB
Date    : 2020-10-29 10:36:02 PDT
SHA-256 : 4c795e8c9eec5952645ded19cf9a2018deb545c7ed0221f32a1a5bd0d64ee5f6

---------------------------------------------------------------------------
ArubaOS-CX Secondary Image
---------------------------------------------------------------------------
Version : ML.10.04.3022
Size    : 388 MB
Date    : 2020-09-17 11:08:26 PDT
SHA-256 : 948725bdbd239a4422a62df9920dd8cc9b2d6aef2bbe9579da08f499dd9fe000

Default Image : primary

------------------------------------------------------
Management Module 1/1 (Active)
------------------------------------------------------
Active Image       : primary
Service OS Version : FL.01.07.0002
BIOS Version       : FL.01.0002
Once the USB device is inserted in the port we need to mount it as below:
6300# usb mount
We are then able to access the filesystem (FAT32) on the USB drive.
6300# show usb file-system
/mnt/usb:
ArubaOS-CX_6400-6300_10_07_1061.swi
ArubaOS-CX_6400-6300_10_08_1040.swi

6300#
It is then very similar to the normal upgrade process, with the copy command referencing the usb: file location as below:
6300# copy usb:/ArubaOS-CX_6400-6300_10_08_1040.swi secondary
boot system secondary

Note: Is it OK, if yes - proceed to the secondary image

6300# copy usb:/ArubaOS-CX_6400-6300_10_09_1050.swi primary
boot system primary

*** Additional outputs
6200# usb mount
6200# show usb file-system
/mnt/usb:
ArubaOS-CX_6200_10_09_1050.swi
ArubaOS-CX_6400-6300_10_09_1050.swi
ASW01-6200F-24.txt
CSW01-6200F-48.txt
           .....
6200# copy usb:/ArubaOS-CX_6200_10_09_1050.swi secondary
The secondary image will be deleted.

Continue (y/n)? y

Verifying and writing system firmware...
6200# copy usb:/ArubaOS-CX_6200_10_09_1050.swi primary
This operation will overwrite the primary firmware image which is currently
in use by Redundant Management. After the image update completes, Redundant
Management functionality will be unavailable until the system has been rebooted.

Continue (y/n)? yes
Verifying and writing system firmware...
6200# boot system
Checking if the configuration needs to be saved...
Do you want to save the current configuration (y/n)? y

6200# show images
---------------------------------------------------------------------------
ArubaOS-CX Primary Image
---------------------------------------------------------------------------
Version : ML.10.09.1050
Size    : 468 MB
Date    : 2022-09-13 23:15:49 UTC
SHA-256 : 8e6453895697738c2b3bdf2b6bf8c5aef5a2827d227b399ac42c17dda2ef2ebf

---------------------------------------------------------------------------
ArubaOS-CX Secondary Image
---------------------------------------------------------------------------
Version : ML.10.09.1050
Size    : 468 MB
Date    : 2022-09-13 23:15:49 UTC
SHA-256 : 8e6453895697738c2b3bdf2b6bf8c5aef5a2827d227b399ac42c17dda2ef2ebf

Default Image : primary
Boot Profile Timeout : 5 seconds

------------------------------------------------------
Management Module 1/1 (Active)
------------------------------------------------------
Active Image       : primary
Service OS Version : ML.01.09.0002
BIOS Version       : FL.01.0003

*** Copy your configurations directly on the switch from txt file:
6200# show usb file-system
/mnt/usb:
ArubaOS-CX_6200_10_09_1050.swi
ASW01-6200F-24.txt
ArubaOS-CX_6400-6300_10_09_1050.swi

6300# copy usb:/ASW01-6200F-24.txt running-config
Copying configuration: [96 %]
Some of the configuration lines from the file were NOT applied. Use 'show events -d hpe-config' for more info.
Copying configuration: [Success]

Be the first to comment